给 VisonFive 安装 ArchLinux
板子
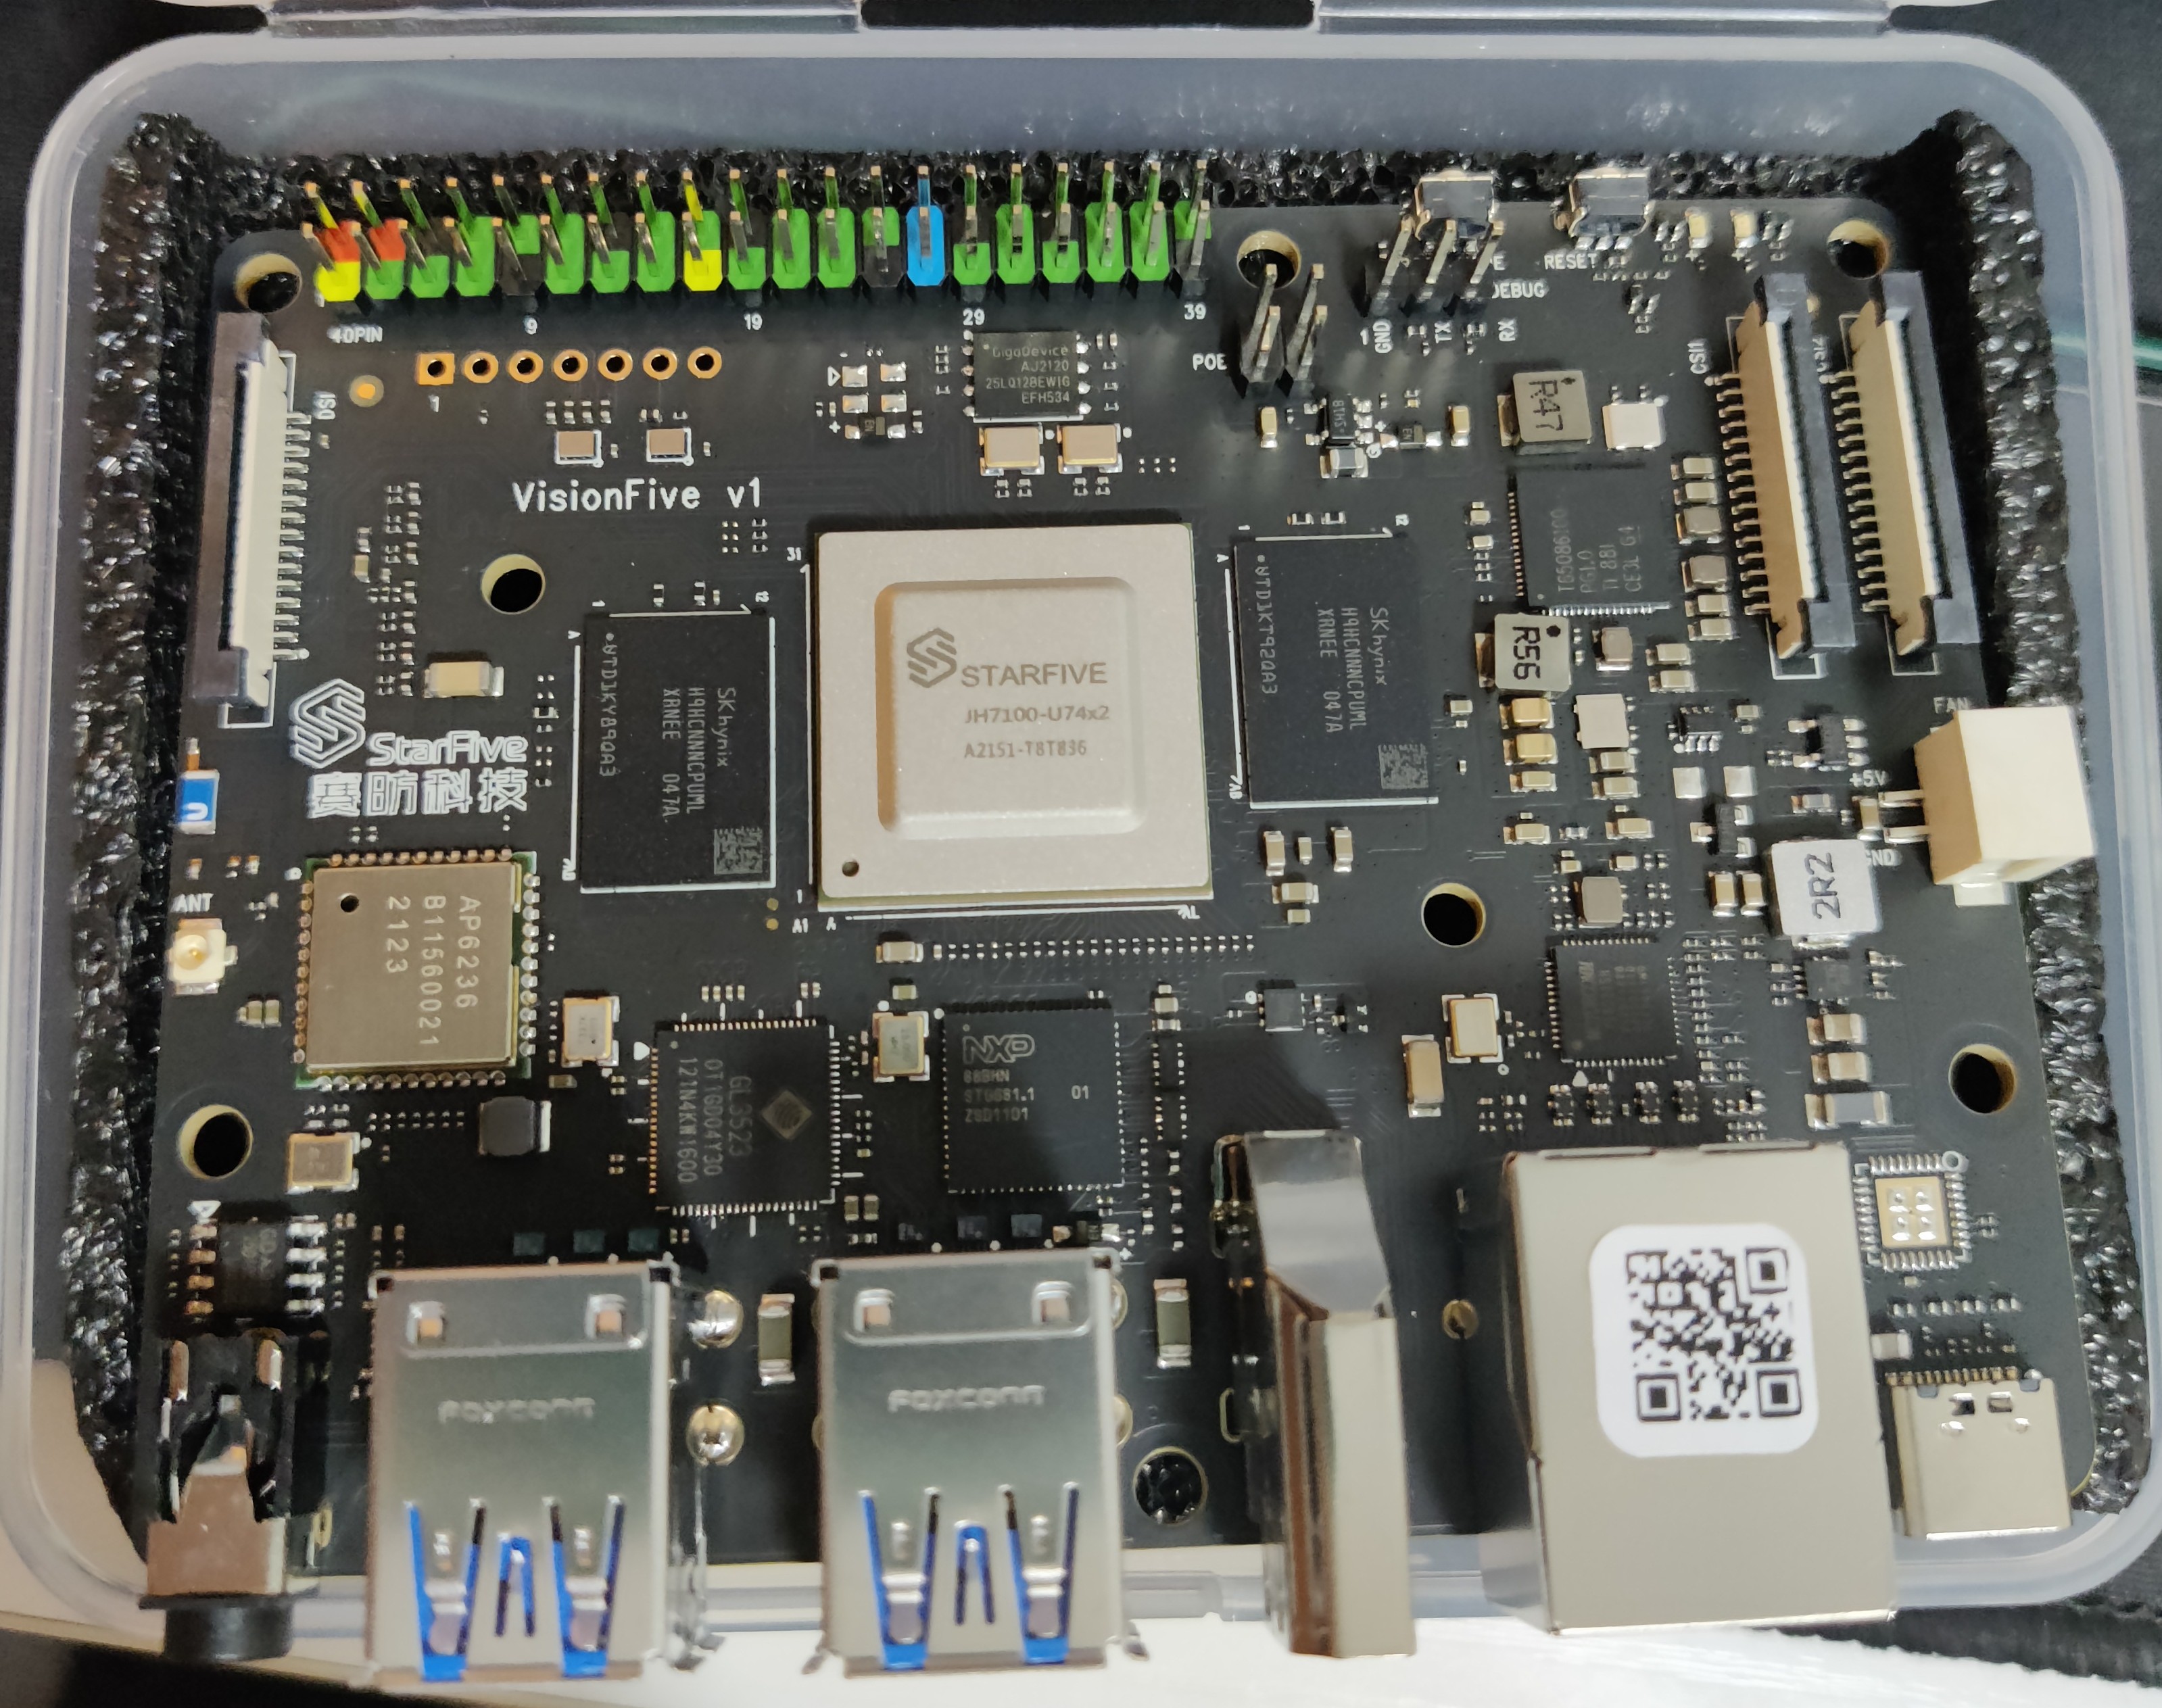
风扇是淘宝买的,关键词是: 芯片 南桥北桥 风扇4cm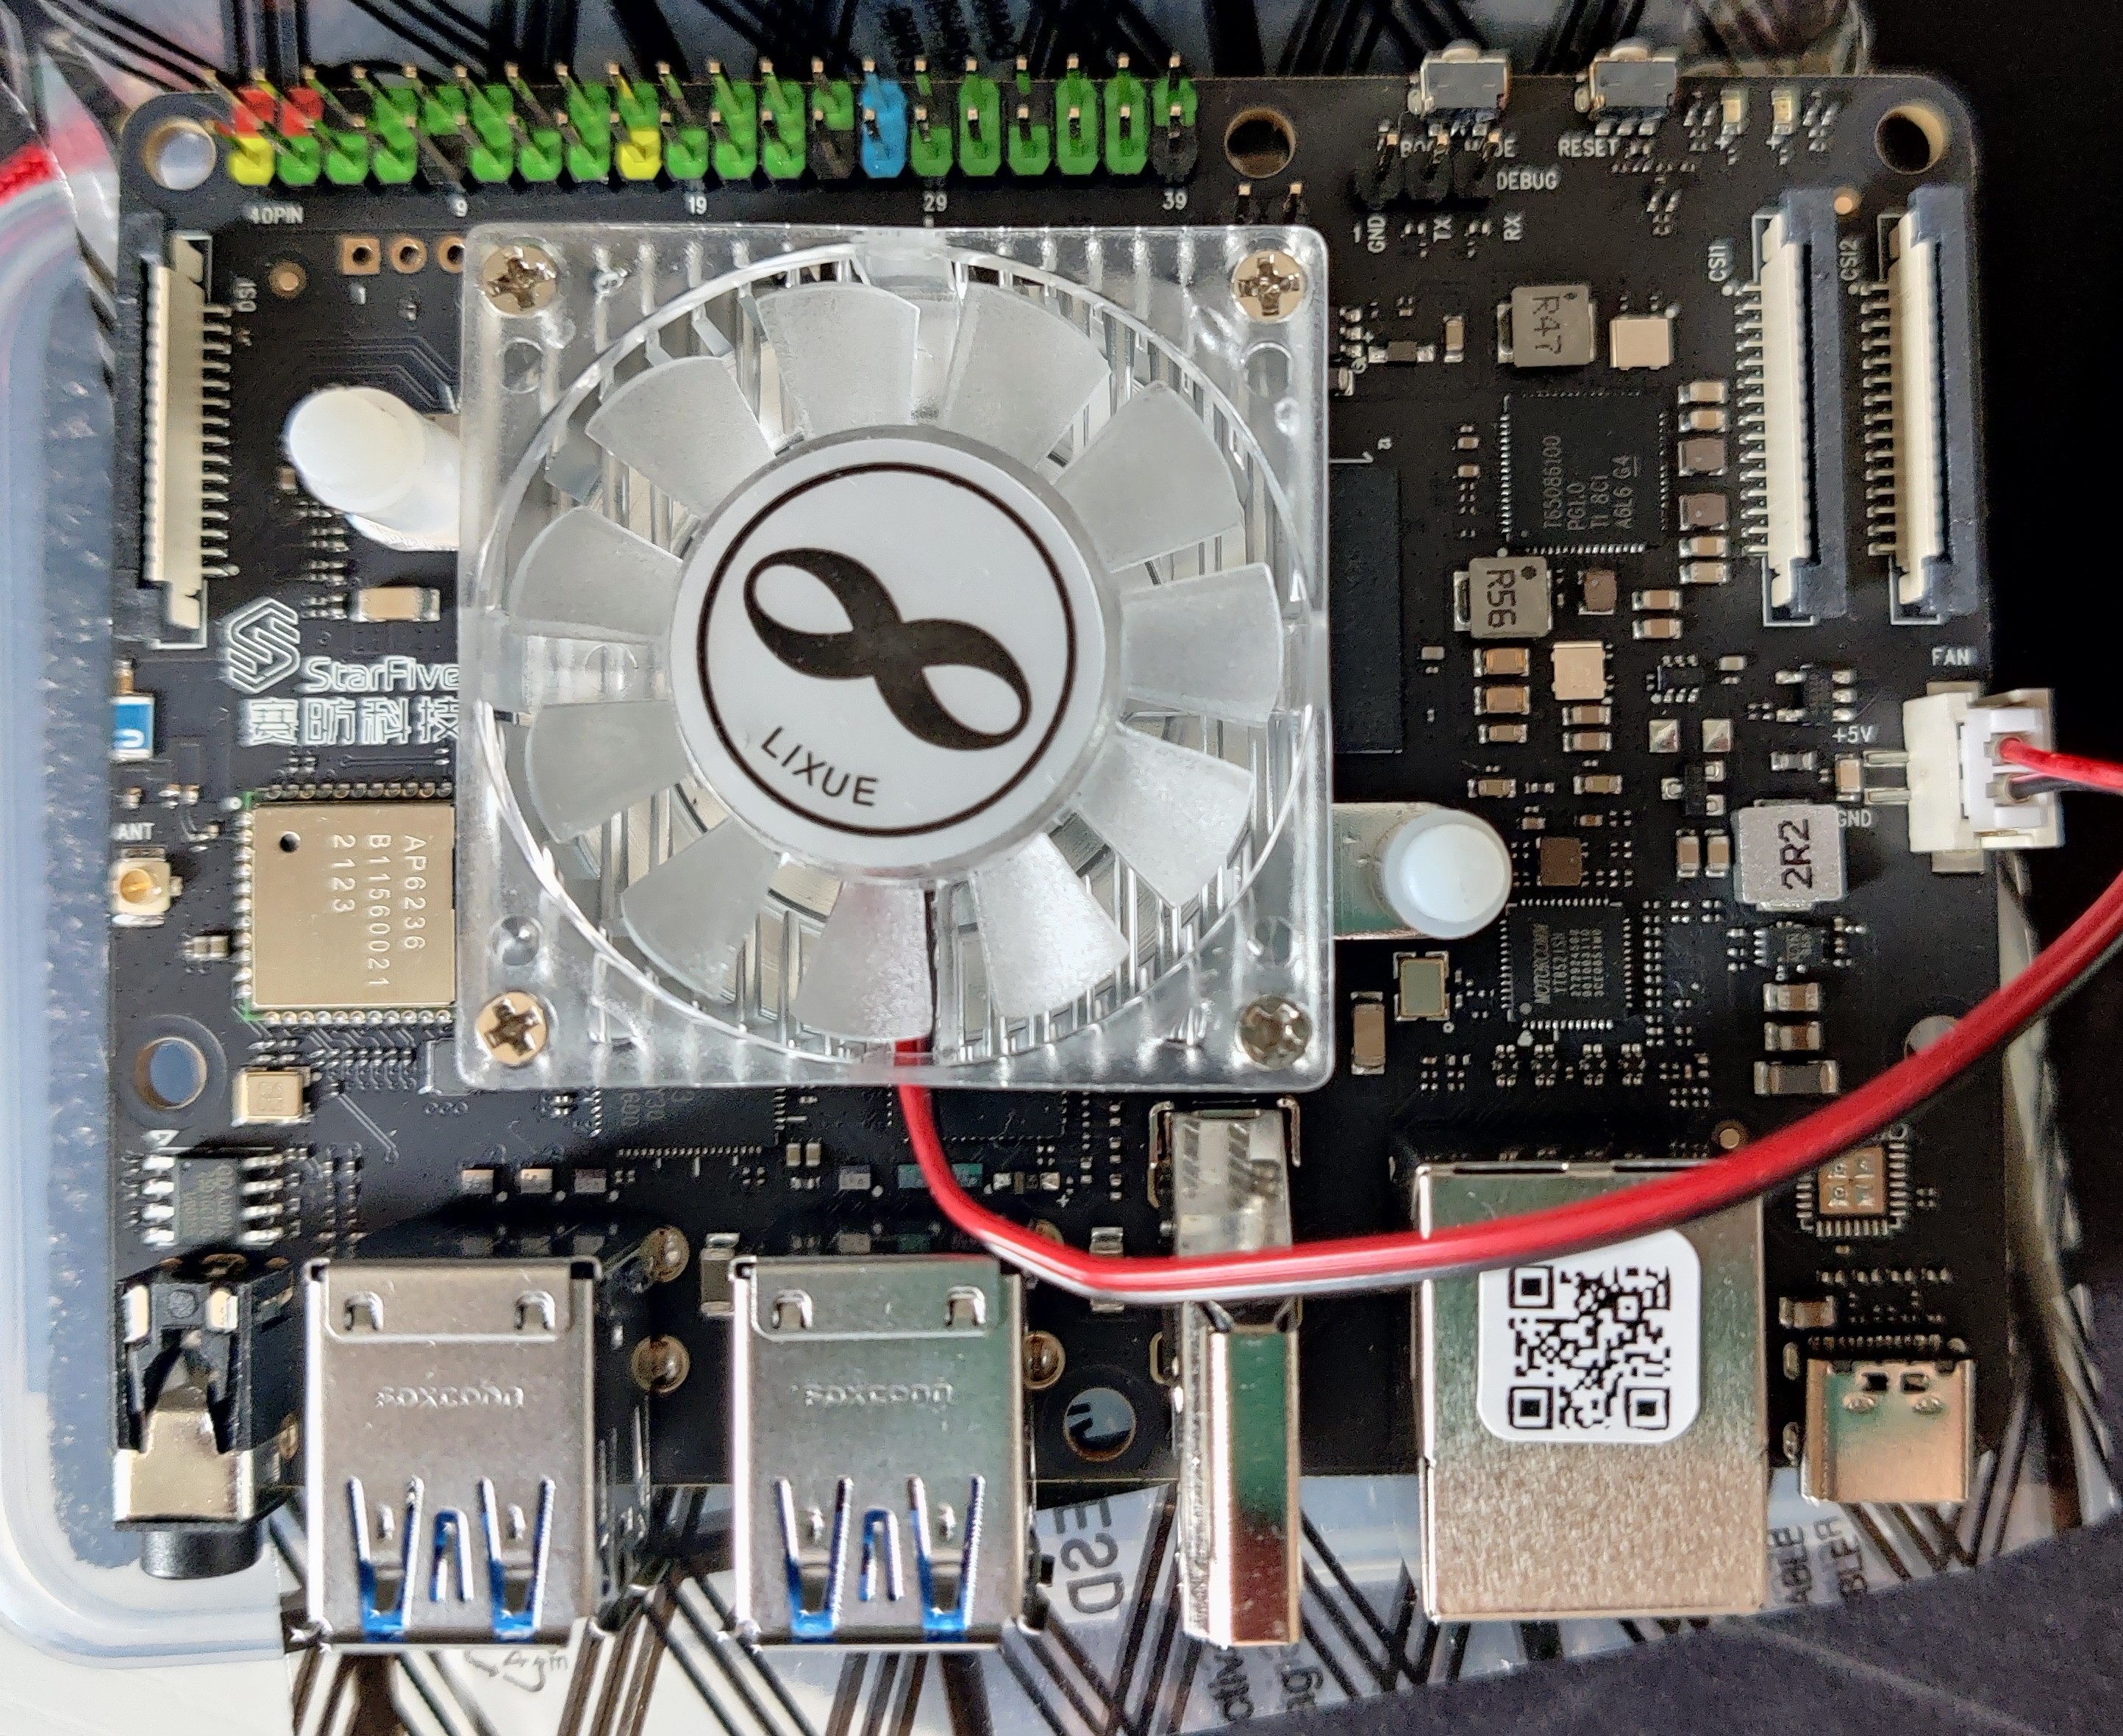
准备
- micro-SD card ( > 16G) & 读卡器
- usb 转 UART 模块
- usb tpye-c 供电线
PS: usb 串口模块接串口的时候,需 板子上的 RX 接电脑的 TX.
按照官方手册下载 Fedora 镜像并且写入 sd 卡
手册链接: VisionFive SBC Quick Start Guide
镜像地址: https://github.com/starfive-tech/Fedora_on_StarFive
下载后得到Fedora-riscv64-jh7100-developer-xfce-Rawhide-20211226-214100.n.0-sda.raw.zst
使用zstd -d Fedora-riscv64-jh7100-developer-xfce-Rawhide-20211226-214100.n.0-sda.raw.zst 解压得到Fedora-riscv64-jh7100-developer-xfce-Rawhide-20211226-214100.n.0-sda.raw
将 sd 卡插入电脑,并将镜像文件写入 sd 卡。(此过程耗时较久)
1 | # 可以使用 fdisk 等软件来确认sd卡的位置 |
替换 rootfs
挂载 sd 卡的内容到
/mnt1
2#此处以 /dev/sda4 为例子
sudo mount /dev/sda4 /mnt在
mnt下创建oldnew两个目录1
2cd /mnt
sudo mkdir new old下载
archriscv-20220727.tar.zst,并解压到new目录1
2cd new
sudo bsdtar -xvf archriscv-20220727.tar.zst启动 Fedora Linux RISC-V 虚拟机
1
2
3
4
5
6# 看到设备以及从 本机(East),变为 fedora 了
[eastdong@East ~]$ sudo systemd-nspawn -D /mnt/ --machine fedora -a -U
Spawning container fedora on /mnt.
Press ^] three times within 1s to kill container.
Selected user namespace base 277413888 and range 65536.
[root@fedora ~]#开始更换 rootfs
记住一些路径
1
2/new/lib/ # 后面步骤中会设置为 LD_LIBRARY_PATH
/new/lib/ld-linux-riscv64-lp64d.so.1移动文件夹
1
2mv etc home media mnt opt root srv var old/ # 保留 boot
mv new/etc new/home new/mnt new/opt new/root new/srv new/var ./继续移动文件夹
1
2
3
4LD_LIBRARY_PATH=/new/lib/ /new/lib/ld-linux-riscv64-lp64d.so.1 /new/bin/mv bin sbin usr lib old/
LD_LIBRARY_PATH=/new/lib/ /new/lib/ld-linux-riscv64-lp64d.so.1 /new/bin/mv new/bin new/sbin new/usr new/lib ./
mv old/lib/firmware ./lib/移动
kernel modules1
mv old/usr/lib/modules/ ./lib/
复制
fstab1
mv /old/etc/fstab ./etc/
退出登陆,再次开始虚拟机的时候系统就变成 archlinux 了。
1
2[root@fedora ~] uname -a
Linux fedora 5.19.7-arch1-1 #1 SMP PREEMPT_DYNAMIC Mon, 05 Sep 2022 18:09:09 +0000 riscv64 GNU/Linux下载一些常用软件,并更新数据库
1
2pacman -Syyu
pacman -S bash-completion vim # wpa_supplicant取消挂载,将 sd 卡插入板子。更换 archriscv 后的用户名
root,密码sifive。连接串口,使用
sudo picocom -b 115200 /dev/ttyUSB0连接串口查看板子情况。1
2uname -a
Linux fedora-starfive 5.15.10+ #1 SMP Fri Dec 24 14:24:27 CST 2021 riscv64 GNU/Linux
配置网络
这边使用的是
systemd-network来进行有线连接。使用
ip a查看网口信息。编译
/etc/systemd/network/default.network1
2
3
4
5[Match]
Name=eth* #我这边有线的命名是 eth0
[Network]
DHCP=yes重新加载网络,此时网络应该已经成功连接。
1
systemctl restart systemd-netwokd
测试一下网络
1
2
3
4
5
6
7
8
9
10
11
12ping 8.8.8.8
PING 8.8.8.8 (8.8.8.8) 56(84) bytes of data.
64 bytes from 8.8.8.8: icmp_seq=1 ttl=120 time=34.6 ms
64 bytes from 8.8.8.8: icmp_seq=2 ttl=120 time=34.2 ms
64 bytes from 8.8.8.8: icmp_seq=3 ttl=120 time=34.2 ms
64 bytes from 8.8.8.8: icmp_seq=4 ttl=120 time=35.8 ms
64 bytes from 8.8.8.8: icmp_seq=5 ttl=120 time=35.2 ms
--- 8.8.8.8 ping statistics ---
5 packets transmitted, 5 received, 0% packet loss, time 4006ms
rtt min/avg/max/mdev = 34.240/34.827/35.849/0.621 ms开机自动连网络
1
systemctl enable systemd-netwokd
同步时间
1
systemctl start systemd-timesyncd
后面就可以愉快的玩耍啦
注意
本次替换使用的 host 是 ArchLinux , 有些命令并不适用所有操作系统。